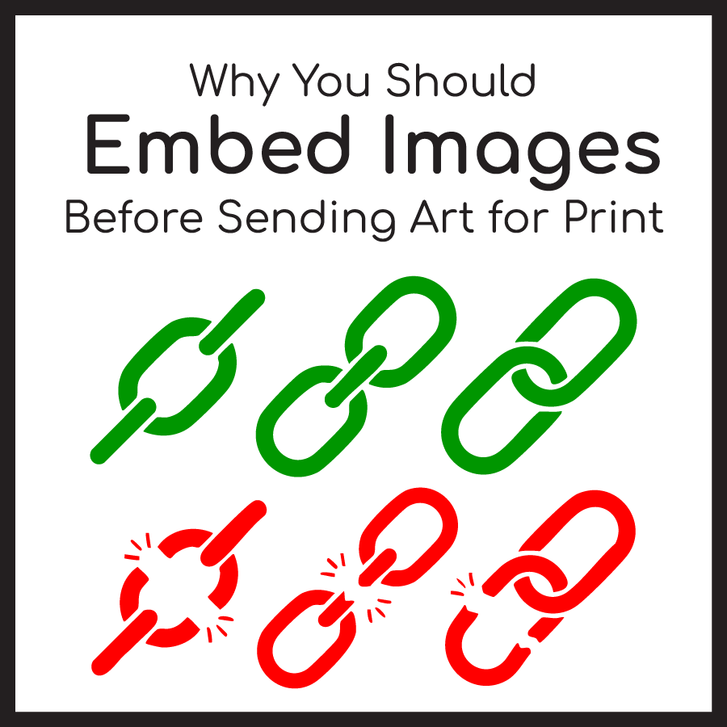
When preparing artwork for grand format printing, one crucial step that often gets overlooked is embedding images. If your design includes linked images that aren’t embedded, it can cause printing errors, missing graphics, or unexpected delays. Let’s explore why embedding images is so important and how you can do it properly.
What Does “Embedding Images” Mean?
In design software like Adobe Illustrator or InDesign, images can either be linked or embedded:
- Linked Images: The file references an external image stored elsewhere on your computer. If that image is missing, the file won’t display it correctly.
- Embedded Images: The image becomes part of the document, ensuring it always appears as intended.
Why Is Embedding Images Important?
- Prevents Missing Image Issues – If a linked file is accidentally moved, deleted, or unavailable, the final print may have blank or low-resolution placeholders instead.
- Ensures Accurate Colors & Quality – Embedded images retain the correct resolution, preventing unexpected pixelation or color shifts.
- Avoids Delays in Production – If your file arrives with missing links, we’ll need to track down the original images, causing delays in your print job.
- Simplifies File Handling – Embedding keeps everything in one file, making it easier to share and reducing the chance of errors.
How to Embed Images in Adobe Illustrator (Step-by-Step)
- Open your file and select any linked images.
- Go to Window > Links to open the Links panel.
- Click on the dropdown menu in the panel and select Embed Image(s).
- Save your file in a print-ready format (PDF, AI, or EPS).
A Quick Tip: Keep an Unembedded Backup
Once an image is embedded, you won’t be able to edit the original link. It’s always a good idea to keep a separate file with linked images in case you need to make changes later.
By embedding your images before sending your artwork, you ensure a seamless printing process and a final product that looks exactly as intended. Need assistance? Reach out—we’re here to help!

