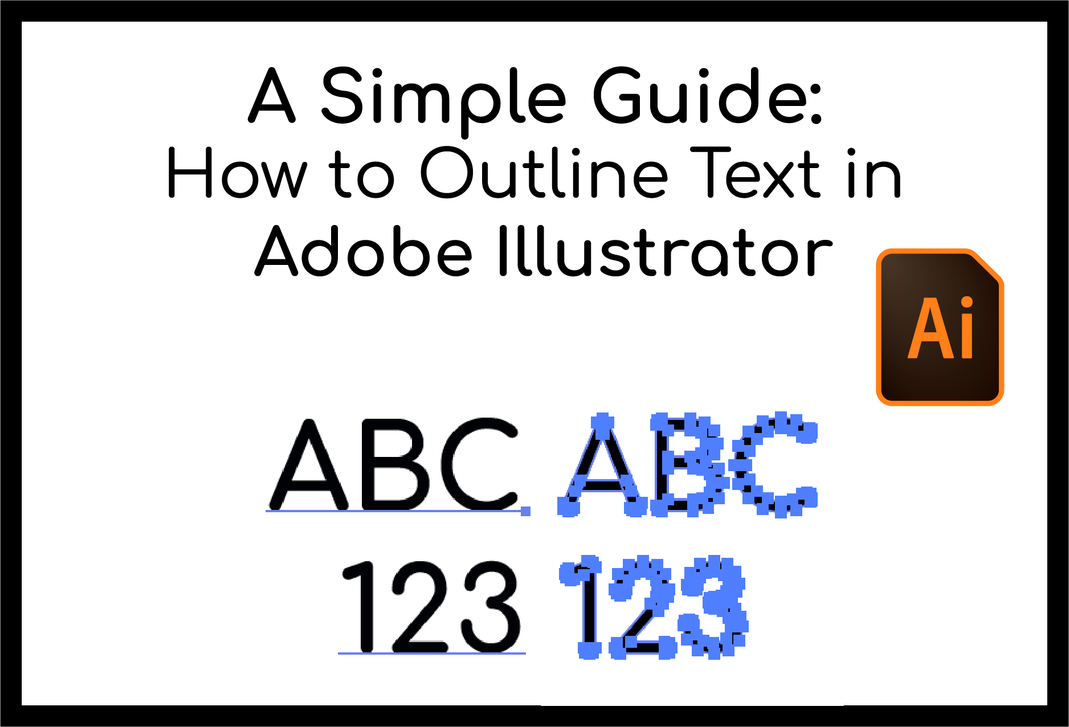
When preparing a design for print—whether it’s for business cards, posters, or grand format banners—outlining your text is a crucial step. Outlining text ensures that your design stays consistent, especially when you're working with custom fonts or when sending files to printers who might not have access to the same fonts you used. In Adobe Illustrator, outlining text converts it into vector shapes, eliminating any font-related issues.
In this post, we’ll show you how to outline text in Illustrator, step by step, so you can be sure your designs will look perfect in print.
Why Outline Text in Illustrator?
Before diving into how to outline text, let’s understand why it’s essential:
- Prevents Font Issues: If you send a file with a font that the printer doesn’t have, it could lead to font substitutions, which might distort your design. Outlining your text converts the font into a shape, which ensures it appears exactly as intended.
- Makes Text Editable as Objects: Once text is outlined, it becomes a vector shape, allowing you to manipulate it as a design element.
- Improves File Compatibility: If you’re sharing your file with others (for example, a printer or collaborator), outlining your text ensures that they will see the design as you intended, even if they don’t have the specific fonts installed.
How to Outline Text in Illustrator
Follow these steps to outline text in Illustrator:
-
Create Your Text
Start by typing your text using the Type Tool (T) in Illustrator. Adjust the font, size, and styling as desired. -
Select the Text
Use the Selection Tool (V) to click and highlight the text you want to outline. -
Outline the Text
With the text selected, go to the top menu and click on Type > Create Outlines, or use the shortcut Shift + Ctrl + O (Windows) or Shift + Cmd + O (Mac). This will convert the text into vector paths. -
Check the Results
After outlining, the text is no longer editable as text. It’s now a group of vector shapes that can be manipulated like any other graphic in Illustrator. You can select each letter individually if you need to adjust its position or appearance.
What Happens When You Outline Text?
When you outline text in Illustrator:
- Text Becomes a Shape: The letters are now treated as individual vector objects, allowing you to adjust their size, shape, and color.
- No More Font Dependencies: The outlined text no longer relies on the original font file. It will display consistently across any device or printer, even if the font isn’t available.
- Limited Editing: Once text is outlined, you can’t edit it as text anymore. If you want to make changes to the content of the text (such as correcting a typo), you’ll need to replace the outlined text with a new text object.
When Should You Outline Text in Illustrator?
- Before Sending to Print: If you're preparing files for a printer, outlining your text is a must. It ensures that the printer doesn’t encounter any font compatibility issues.
- For Logo Design: If you’re designing a logo that will be used in multiple places (print, web, etc.), it’s a good idea to outline the text so it remains consistent across different formats.
- For Large-Scale Prints: If you're designing grand format banners, signs, or other large prints, outlining your text will ensure clarity and sharpness, as it eliminates any font issues that might arise when scaling.
How to Reverse Outlined Text (if Necessary)
Once text is outlined, it becomes a shape, and you can no longer edit it as text. However, if you need to make changes later, here’s what you can do:
- Use the 'Undo' Command: If you’ve just outlined the text and haven’t saved your work yet, you can simply undo the action by pressing Ctrl + Z (Windows) or Cmd + Z (Mac).
- Recreate the Text: If you’ve already saved the file and need to make changes, you’ll need to delete the outlined text and retype it, applying the same font and styling.
Best Practices for Outlining Text in Illustrator
- Save a Copy of Your Editable Text: Before outlining text, it’s a good practice to save a version of your file with the text still editable. This way, you can make text changes later if needed.
- Use Pathfinder for Complex Text Designs: If your text involves complex elements like overlapping letters or special effects, you may want to use the Pathfinder tool to combine or adjust those elements after outlining.
- Check for Font Licensing: If you’re using a custom font, ensure that you have the appropriate licensing for it, especially if you plan to distribute the design commercially.
Conclusion
Outlining text in Illustrator is a simple but essential step when preparing your designs for print. By converting your text into vector shapes, you eliminate font-related issues and ensure that your design remains consistent across different devices and printers. Whether you’re designing a logo, a grand format banner, or any other print project, outlining text is a crucial step to make sure everything prints as expected.
If you ever need help with your print-ready files, we’re here to assist you in ensuring your designs look perfect in any format!

